Are you confused about how to size your photos for sharing by email or on social media sites? Do the terms "resolution" and "pixel dimensions" keep you up at night? Now you can ignore all that math and shrink your photos visually! No numbers necessary! Here's how using Photoshop Elements or Photoshop (any version).
- Open your image in Photoshop or Elements.
- Open the Navigator window (Window menu, Navigator).
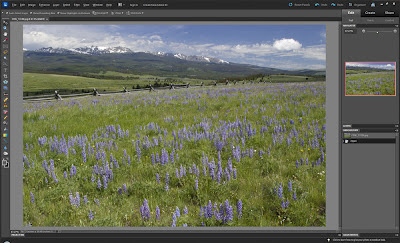 |
Image open in Photoshop Elements 10
with Navigator window open on the right |
- Using the slider in the Navigator, adjust the photo on screen to be the size you want it out in Web land.
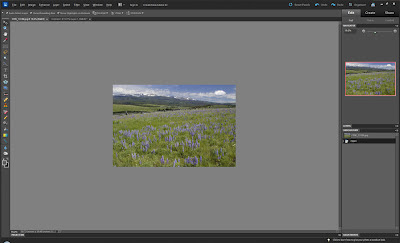 |
| Image reduced on screen using the Navigator slider |
- Look at the percentage next to the Navigator slider.
REMEMBER this number.
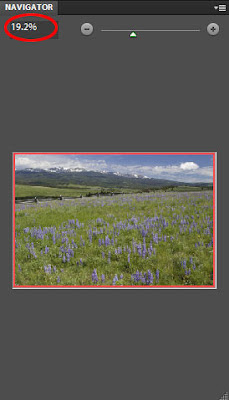 |
Navigator window showing
reduced percentage circled in upper left |
- Open the Image Size dialog box.
In Elements choose Image, Resize, Image Size.
In Photoshop choose Image, Image Size
- Be sure Resample Image is checked (turned on).
- Select Bicubic Sharper as the method (if available).
- Change the measurement unit from "pixels" or "inches" to "percent". Change either pixels or inches; you don't need to change both.
- Type in the number you got from the Navigator slider.
- Click OK.
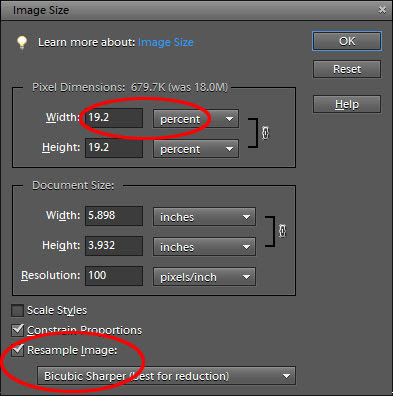 |
Image Size window with percentage resize at top
and Resample Image using Bicubic Sharper at bottom |
- Your photo will shrink on screen (a good thing).
- Use View, Actual Pixels to see the photo as it will appear on screen.
- Choose File, SAVE AS a new photo in JPEG format (e.g. IMG_123-email.jpg). I keep my web images in an Email folder on my desktop.
- Upload/email/etc. as desired.
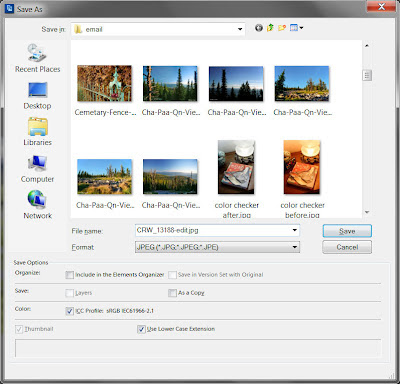 |
| Windows 7 Save As screen |
You're done!
If your photo editing program has similar abilities to adjust the size of the photo on screen using a slider AND tell you at what percentage you are viewing it, you can use this technique too. Thanks to
Ben Willmore's Photoshop for Photographers class broadcast at
Creative Live.


