 |
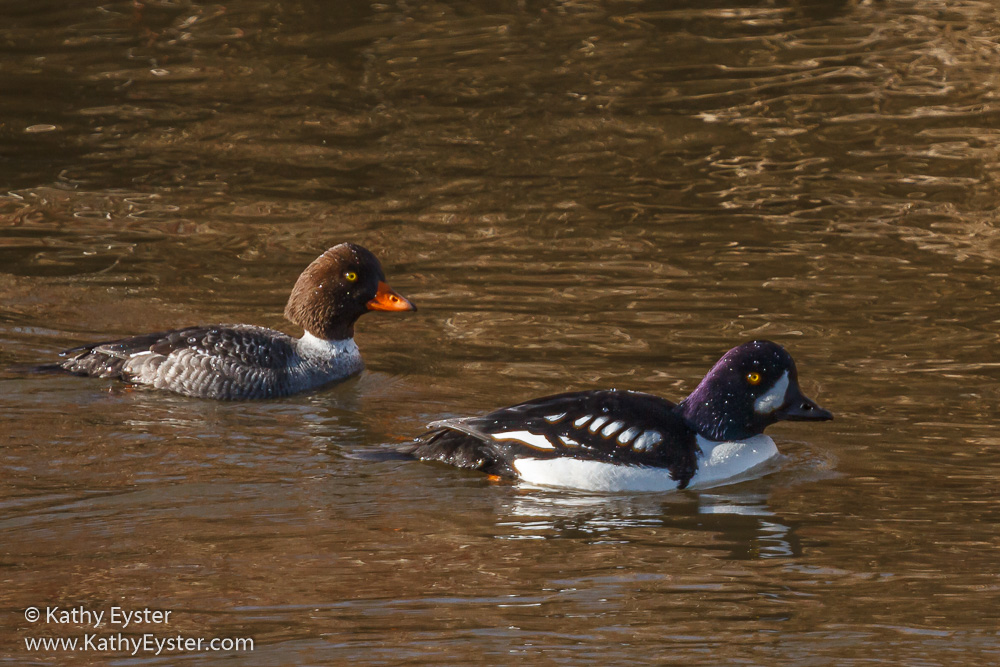
| Barrow's Goldeneye Pair Frenchtown, Montana |
If you are interested in photographing birds, you can get started with the equipment you already have. Here are some recommended camera settings to begin.
- Camera & Lens -- Ideally you have a camera with interchangeable lenses, such as a DSLR or mirrorless camera body. Use the longest telephoto lens you already own. A 300mm lens or equivalent focal length can get you started. Even so, unless you are photographing a large bird, expect to perform some significant cropping to make the bird appear large in the final image. Compact point & shoot or bridge cameras can work if they have a long focal length lens. Cell phone cameras are not as useful unless your bird subject is very close and sitting still.
- Image Stabilization -- Be sure to activate the anti-shake technology that's available with your equipment. This might be a switch on the lens and/or a menu choice in the camera itself. Because you will likely be hand-holding the camera, the image stabilization technology helps you get more sharp pictures.
- Memory Card -- It's a good idea to have a
memory card with lots of storage capacity because you'll be taking lots
of frames! A 16GB card is a minimum size.
- Exposure Mode -- Birds are constantly moving, so you need to use a fast shutter speed to get a sharp photo. Use Manual (M) exposure mode and set all the camera's controls yourself. Set the shutter speed to 1/1000 second for birds on the ground or 1/2000 second for birds in flight. Set the lens aperture (f-stop) to its widest setting. Depending on your lens, this might be f/2.8, f/4 or f/5.6. Finally, set the ISO to Automatic. This allows the camera to adjust its sensitivity to light so you get an acceptable exposure with the shutter speed and aperture you chose. If your camera does not have an automatic ISO setting, try ISO 400 and take a test shot to see if the exposure is okay. If the photo is too dark, increase the ISO to 800; if the picture is too bright, decrease the ISO to 200.
- Metering -- Select the camera's pattern metering method. This setting has various names, such as Evaluative (Canon), Matrix (Nikon), or Multi (Sony). The camera's meter measures the amount of light in the scene to ensure a good exposure.
- Drive Mode -- Plan to take bursts of photos at high speed to capture interesting moments. Check your camera manual for the Continuous Drive or Sequential Shooting control.
- Autofocus Mode -- Because the birds fly toward and away from you, the camera's autofocus needs to constantly adjust the focus distance. Set the Autofocus Mode to Continuous (AI Servo for Canon). Some mirrorless camera models have subject tracking autofocus. You can experiment with this, but beware of the focus "jumping" from the bird to a branch or piece of grass between you and the bird.
- Autofocus Area -- Even if your bird is sitting still, it can fly away at any time. Setting the camera's Autofocus Area to the largest number of autofocus points enables it to better lock focus on the bird, especially if it is flying.
- White Balance -- The best times of day to photograph birds are early in the morning and late in the afternoon. At these times the sun is low in the sky and provides nice light. Daylight (Sunny) White Balance records the colors of the bird's feathers accurately under these lighting conditions. If you capture raw photos, you can use Auto White Balance and change the white balance when developing the picture.
- Flash Off -- Most cameras do not automatically fire the flash in manual exposure mode. If your camera has a built-in flash, be sure it remains turned off. Most of the time the birds are too far away for flash to have any effect on the exposure.
Some cameras let you save all these settings as a Custom Mode. See your camera manual to find out if a custom mode is available and how to set it up.
 |
| Barrow's Goldeneye Pair Frenchtown, Montana |
Finally, go out early in the morning or late in the day when the birds are active. You can start in your backyard with birds that come to any feeders you've put out or birds that hop about your yard. Staying still and quiet in one place lets the birds become accustomed to your presence and be less shy. Also consider visiting any parks or natural areas with ponds or other water sources that attract ducks and other waterfowl.
Position yourself with the sun at your back so the birds are front-lit. This brings out any iridescence in their feathers and puts a sparkle (catchlight) in their eye.
Pay attention to the direction of any wind if you are photographing large birds. Keep the wind at your back because the birds take off and land into the wind. This means you can photograph the head of the bird as it flies toward you. If the wind is in your face, the birds take off going away from you, giving you the tail of the bird instead!
Remember that you must shoot a lot of frames and later review your work on a large screen to select the sharpest images with the best moments.
Acknowledgements -- I gathered these tips from Matt Kloskowski and Frans Lanting who offer video classes on photographing birds. I've used these settings to create the pictures in this post.