Even the best photos from your camera can benefit from some gentle editing to enhance their appearance. You don't have to spend time sitting in front of the computer to make your images look good. Here's an easy way to bring out the best in your pictures in just three clicks using
Adobe Photoshop Elements.
 |
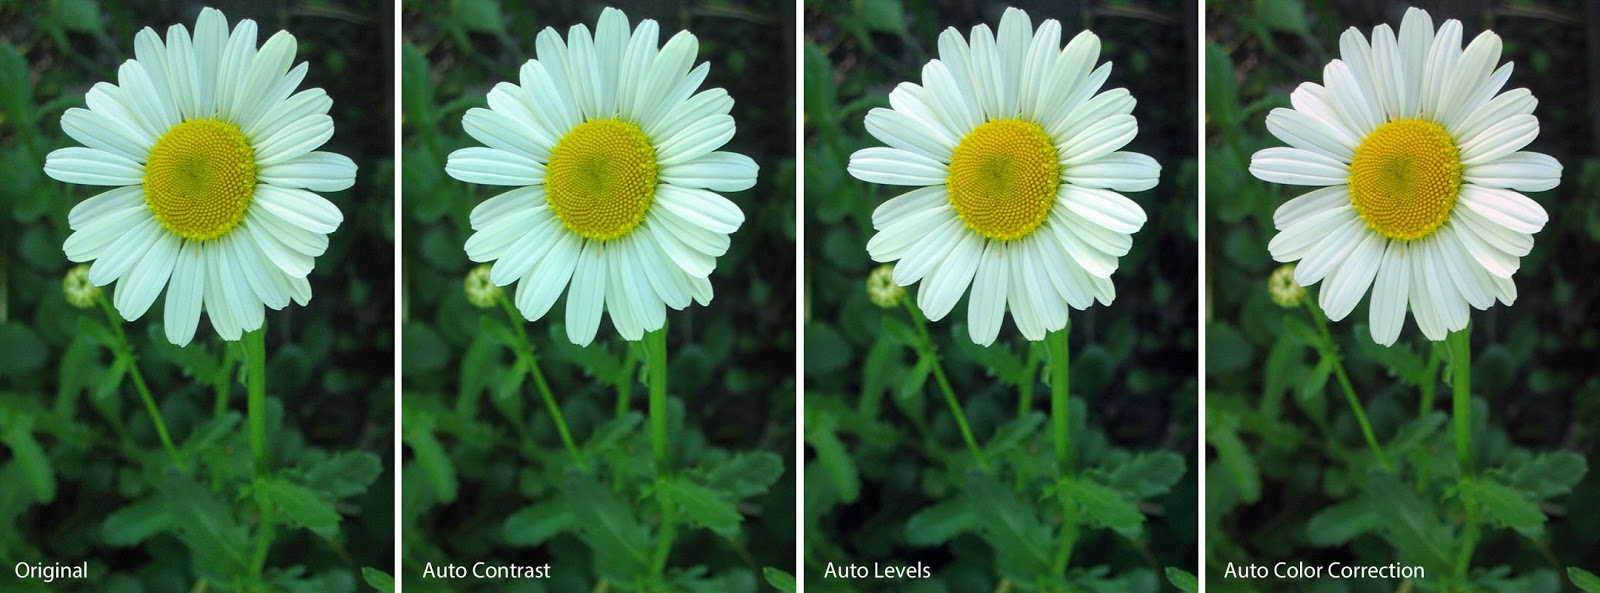
| Before and after simple editing steps |
Read more...
Open your photo in the Elements Quick Editor or Expert Editor (Full Editor in earlier versions). (These options are not available in the Guided Editor.)
From the Enhance menu, choose the following commands
in this order:
- Auto Contrast
- Auto Levels
- Auto Color Correction
 |
| Simple editing steps in order |
After each command, if your picture looks worse instead of better, click the Undo arrow and go to the next step.
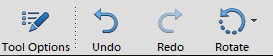 |
| Undo & Redo Arrows |
Many photos, including sunrise and sunset shots, need only the Auto Contrast step.
Using Auto Levels or Auto Color Correction frequently changes the colors
and gets rid of the colors you wanted.
For an easy Before and After comparison, use the Quick Editor and click the View drop-down menu to choose Before and After Horizontal (or Vertical) for a side-by-side display.
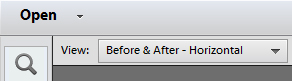 |
| Side by side display |
If the color still doesn't look as you wish, try one of these other quick edits.
- If the whites in your image don't have the right color, choose
Enhance, Adjust Color, Remove Color Cast. Use the eyedropper to click on
the whites. If you don't like the results, just click the Cancel
button.
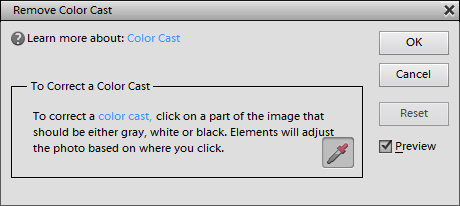 |
| Remove Color Cast |
|
|
 |
| Left: Auto color correction, Right: Remove color cast |
- If the skin tones of people in your image don't look right, choose
Enhance, Adjust Color, Adjust Color for Skin Tone. Use the eyedropper
to click on the person's skin for improved color. If you don't like the
effect, just click the Cancel button.
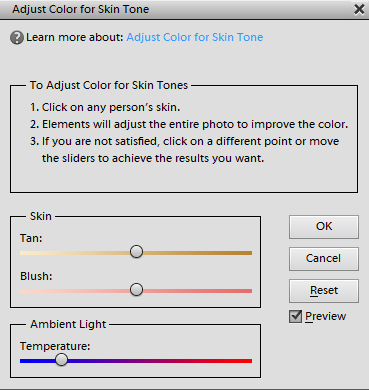 |
| Adjust Color for Skin Tone |
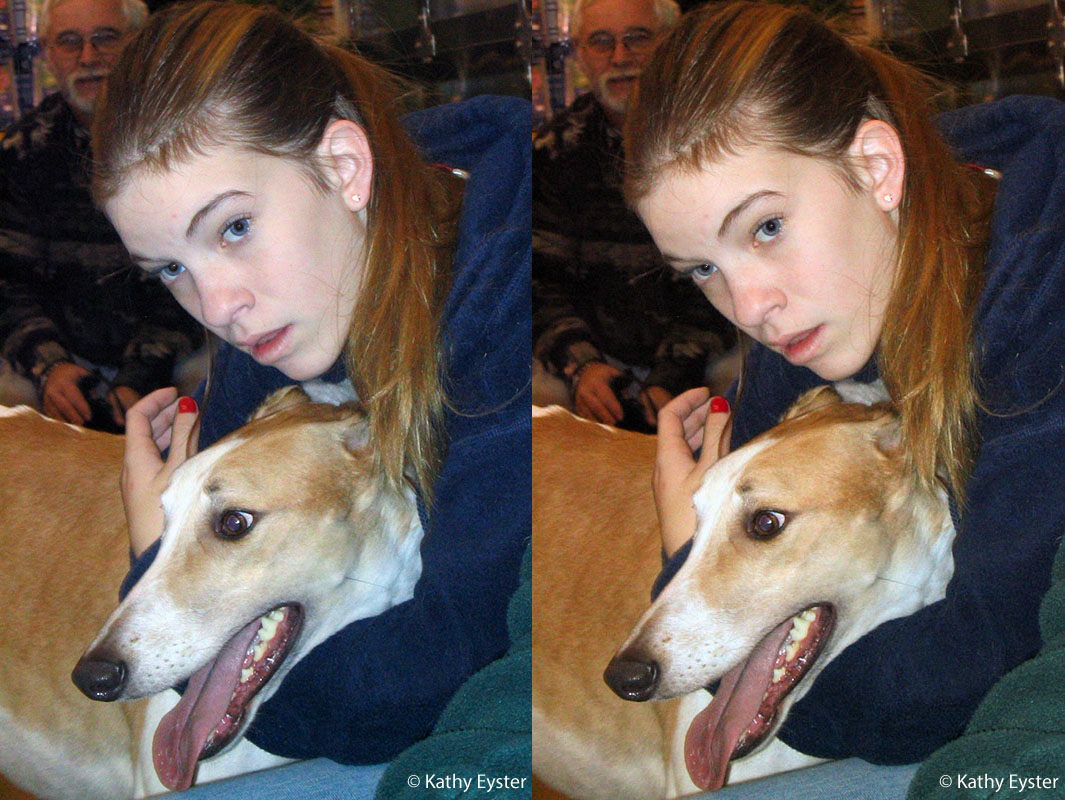 |
| Left: Auto color correction, Right: Adjust color for skin tone |
- If you have a portrait with red-eye, use the Red-Eye Removal tool and
click on the problem eyes to get rid of the red. (See my article on correcting Pet-Eye here.)
Not all pictures will improve with all three commands. Sometimes you
just need one or two steps. And occasionally, a photo will look worse
after these steps, instead of better. In these cases, just apply what
improves the picture and undo what doesn't.
When you are happy with the results, choose File, Save As to create a new, improved copy. Then share your enhanced photo on your favorite social media site or even have it printed.